DIY car detailing is an affordable way to get the inside of your car looking like new.
Our vehicles are never as squeaky clean as we want them to be. While hands-free automatic car washes do a pretty good job of cleaning the outside, we miss the way our car looked and smelled when it was new.
Do it yourself
The cost of professional detailing or cleaning it yourself is about the same if you are going to do it properly; however, a lot of the tools and cleaners you buy last through multiple detailings which saves you money in the long run.
DIY Tools and Cleaners
The first time you detail your car yourself, you have to invest a bit of money to get the right supplies. Once you have what you need, pick a day with clear weather, park out of the direct sunlight, get all your supplies together, and you are ready to go.
Step 1
Get rid of the interior mess by removing any debris and clutter from your car. You also need a vacuum, carpet cleaner, scrubber, and microfiber cloth.
Use a cloth to remove the small dust and dirt particles from the surfaces, including the dash, seat, armrests, and drink holders. To really detail the car, use of air spray and Q-tips to get into the tiny spots.
Use the vacuum’s thin head to get rid of dust, soil, crumbs, and garbage from the floors and carpet. Then, scrub the carpets with a carpet cleaner using a scrub brush. Then, get rid of the extra foam if it is there any and vacuum.

Step 2
Clean the windows using glass cleaner, a glass microfiber cloth, and plush microfiber cloth.
Both the inside and outside of the windows need to be cleaned. Use glass cleaner and the glass cloth to clean using straight strokes. Do not use circles. Keep adjusting the cloth so you always have a fresh, clean surface. The plush cloth should be used to get rid of any final streaks. If there are deeper marks on the glass, you may have to polish it.
Step 3
For leather and vinyl work, you need an all-purpose car cleaner, a small soft brush, scrub pad, and microfiber cloth.
- Dash and Console – Use an all-purpose cleaner and a microfiber cloth to clean hard surfaces. Simply use the cloth and, as it gets dirty, adjust it to a clean spot.
- Seats and leather areas – For seats and soft areas, use the cleaner directly on them then clean with a soft brush in small circles to remove the dirt. Then, wipe clean with the microfiber cloth.
- You can also use a moisturizer on the interior surfaces to further protect the surfaces from future stains.
Step 4
To clean the wheels, you need a wheel cleaner, brush, microfiber cloth, and bucket. Make sure the cleaner is acid-free and water-based so as not to hurt your wheels or the environment. Apply the cleaner, wait five minutes, then scrub. Rinse the brush as you clean. Do not let the wheel cleaner sit on the wheels and dry. Spray or splash with water and then dry off with the cloth.
Step 5
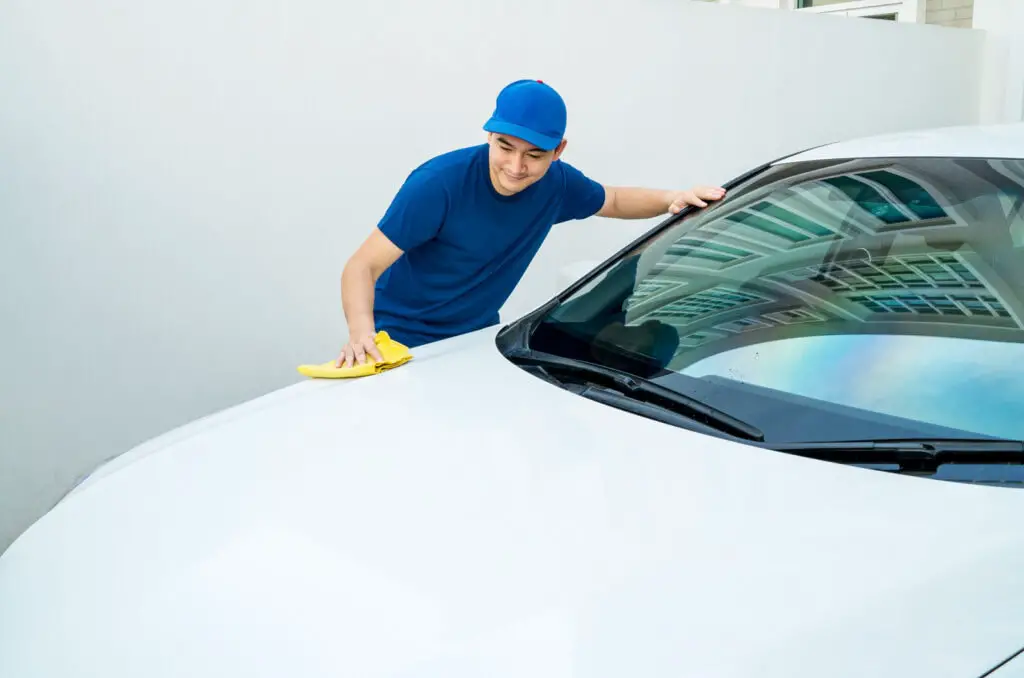
For car washing, you need two buckets, car soap, lamb’s wool mitt, spray nozzle for hose, and a plush microfiber cloth or wash mitt. Use soap specifically for car paint. Dish soap is too abrasive. Wash your car out of the sun when the car is not too hot. Have 1 bucket with soap and the other with clear water. Rinse the car first with the hose then put lamb’s wool mitt in soapy water and remove contaminants. Once one panel is done, spray it off. Rinse your mitt in the water so you do not carry dirt from the first section into the soap bucket. Once the vehicle is all done, use the microfiber drying cloth to dry then add the spray wax to the cloth and make sure to wipe the surface until dry.
Step 6
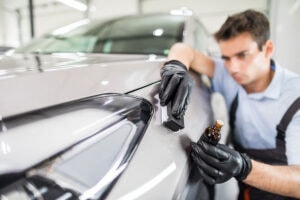
To take care of the little details, you need paint clay, spray wax, and microfiber cloth. Paint claying removes anything left on the surface after washing and makes the surface perfectly smooth. Take a piece of clay and press it down. Then, put spray wax on a section of the car and the clay. Maneuver the clay straight over the section until smooth then get the microfiber cloth and dry it so you can move on to a new area.
Step 7
To polish, you need masking tape, one-step polish, orbital polisher, applicator pad, and a microfiber cloth.
Polishing comes before waxing. It removes the clear coat and, therefore, small scratches. Work in small areas. Use the tape to protect any areas that do not need polish and wax. Use the polisher to gently spread polish then move to a faster speed to work in the polish. When finished, wipe the area clean using the cloth. Do this by sections.
Step 8
Now, it’s time to wax. You need a synthetic wax or sealant, a hand wax applicator pad, and a microfiber cloth.
You can use either synthetic or natural wax. Each has its pros and cons. Whichever you choose, it can be applied by hand or using a polisher. Put wax on the pad and use straight strokes, covering between two and three areas at once. Remove wax with the microfiber cloth. Make sure the cloth stays clean and check for missed wax when you’re done.
Step 9
To clean the tires, you need tire shine gel and an applicator pad. Choose either a liquid or gel to clean your tires. Gels tend to be better as they stay on longer. Put get on the pad then rub it on the tire. Do not use too much. You do not want it getting on your car.
Follow these nine steps to get the exterior and interior of your car looking brand new.