Connecting LED Lights (and underglow) to a vehicle battery
LED lights are becoming more and more popular in our everyday life. People use them to decorate their gardens and house interiors, but we have also seen at least one instance which who was a bit bolder: car LED light decorations.
Either outside the car or inside, these LED lights can totally change the look of your vehicle – not to mention that it also improves visibility and allows you to locate items around the car more easily at night. We love LEDs to the interior of our vehicles to get those warms colors from the dome or map lights.
They are affordable, they come in different varieties and colors, and all you need is to keep reading to find out how to connect LED lights to car battery. So let’s get started.

What are LED lights?
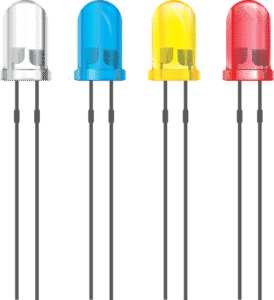
LED stands for light-emitting diodes, and they produce light. These semiconductor components are electronic, usually constructed from silicon and other parts which allow electrons (or simply electrical current) to flow.
Diodes allow this flow to go in only one direction, but they also produce the light we see. Technically, the anode, which is the positive lead, is connected to a positive power supply, while the negative lead, called a cathode, is connected to the negative wire or the ground.
The light-emitting diodes are extremely important in the electronics universe. While they have been present in one form or another for many decades, only in the past decade have they gained popularity in our everyday activities, such as decorating houses and cars.
The diode is made from silicon and germanium, which are connected, forming a bridge. They use the principle of semiconductor junctions (bridges). They work with the same basic principle which allows numerous technological components, such as microprocessors, to work.
Do you have LEDs in your car yet? If not, check out our best LED Conversion Kits.
How do LEDs produce light?
We have already established that LEDs allow electricity to pass. The miracle comes in when we can, as a consequence, see the light! There are different LED colors available – this is because of the different materials used in their manufacture.
A wide variety of companies have started to produce these LEDs, so now they are incredibly affordable, and they come in a great variety of colors.
The drawback back is that, compared to typical light bulbs, they work with a low voltage, about 1.5 volts approximately. This means that we need to add a resistor to limit the amount of current; if not, they will burn out.
We usually put in a resistor if we want to connect them to a car battery because each LED works with around 1.5 volts, while the car battery usually has 12 volts.

What is a resistor?
As previously mentioned, an LED light uses only 1.5 – 2 volts, while a car battery has 12 volts. Therefore, it is necessary to have a resistor in order not to burn out the LED light. Each LED light needs to have its own resistor attached.
LEDs versus light bulbs
Why are LEDs so popular nowadays? Well, it must be due to their many advantages over light bulbs and neon bulbs.
Firstly, the power use of an LED is much lower compared to a light bulb, while neon tubes also have a low power use. Additionally, in terms of cost, both LED bulbs, and light bulbs come at an affordable price ranges, while neon bulbs are relatively highly-priced.
Read more about Why You Should Upgrade Old Halogen Headlights To A LED
The voltage is low for both LED and light bulbs, but neon tubes require special power supplies. LED lights score maximum on durability, unlike both light bulbs and neon tubes. They score similarly high in their life expectancy, which is tens of thousands of hours for LEDs and only hundreds for the other two alternatives.
Connect LED lights to car battery
Before starting, watch this Youtube video from kooper salmo showing the basic wiring of LEDs to battery:
Here is what you need:
- Screwdrivers
- LED lights
- Wrench
- Resistor (make sure it matches LED lights specs, or it can burn out)
- Electrical wires – 14 gauge
- Soldering gun and solder
- Electrical pliers
- Wire brush
- Zip ties
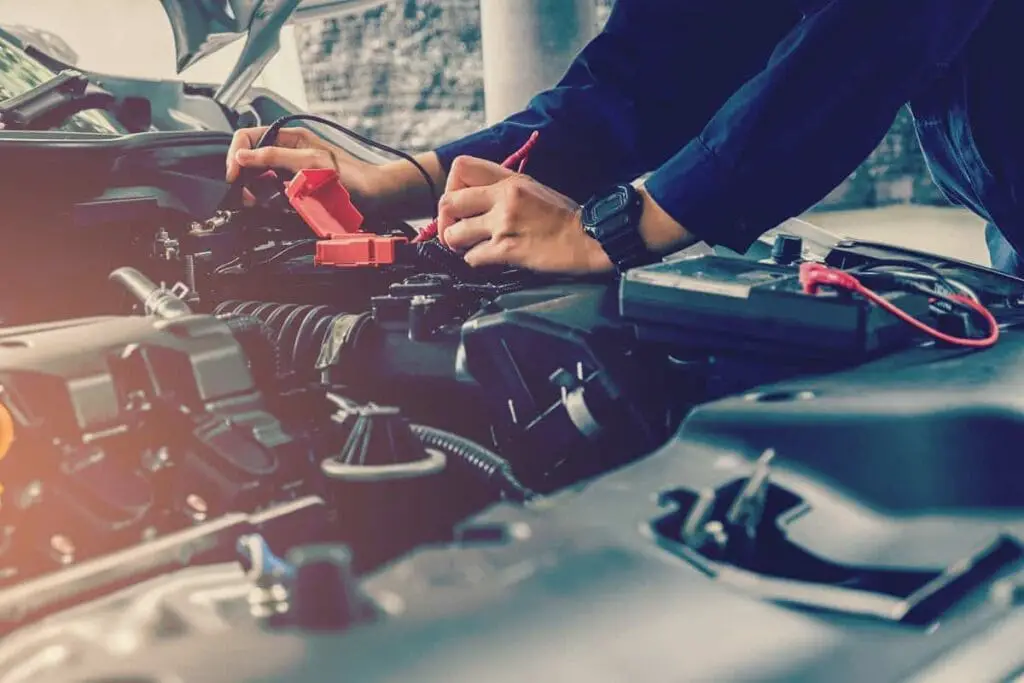
The first step is to open your car’s hood and carefully disconnect the negative cable of the battery by slowly loosening the lock nut with a wrench. Pull the cable off. Decide where to place your LED lights – for ideas and step by step guide, have a look at the next sections.
Pull the LED power wire to the positive post on the battery. Bring closer (but not touch it) a second wire, next to the negative terminal – the ground wire of the LED.
Next, use electrical pliers to strip off the insulation from both ends of the wire. LEDs have two leads, with one longer than the other. Solder one end of the wire to the positive terminal from the battery and the other end to the longer lead of the LED.
A similar operation goes with the second wire – use electrical pliers to take off the insulation of both ends of the wire. However, do not attach the wire to the negative terminal. Only attach one end of the wire to the remaining lead, which is the shorter one.
Cut the ground wire (the one next to the negative terminal of the battery) and take the insulation off using electrical pliers. You should cut it around 16 inches from the battery.
Attach one end of the ground wire to each end of the resistor – you can use either wire, it does not have any direction you need to follow. Finally, attach the last end of the ground wire to the battery (the negative terminal).
The last step is, of course, to push the LED light into the position. You can use zip ties to put the LED wires out of the way; you can attach them to the dash.
Installing LED lights under your car
AJ’s BRZ did a great Youtube guide on installing underglow:
If you want to attach LED lights for a better design of your car here is a detailed step by step guide on how to do this.
What you need:
- LED light strips
- Zip ties
- Scotch tape
- Module box
Firstly, place the LED lights underneath your car and secure them in place with zip ties (permanently) or you can use scotch tape for a temporary design. Place the four wires all the way to the module box (next to your battery) or extend them to reach the engine bay.
Connect the module box using red wire to the positive battery terminal and the black wire for the negative terminal. The module box needs to be located so that it is away from the radiator and the engine, otherwise it can easily get damaged. In addition, you also need to place the module box somewhere without any moisture. Make sure that the antenna (from the module box) is extended, which will ensure better reception.
This easy two-step process of connecting LED lights to the module box is one of the easiest out there. All you need to do is to test and check that all LED lights work as expected.
Afterward, if you placed them temporarily using scotch tape, you can replace that with zip ties to make it permanent. You should place zip ties every 12 inches or so. Double-sided tape is not recommended because it is too weak, but your car should have some crevices to allow you to place your zip ties.
Installing LED lights inside your car
This might be extremely useful if you often drive at night or you simply want to improve the looks of your vehicle. Here is a detailed step by step guide on how to do this.
What you need:
- LED lights
- Screw terminal connectors
- Screwdriver
- Scissors
- Wire strippers
- Electrical tape
- Speaker wire or an 18-22 AWG class 2 cable
- Scotch or painter tape
- Ring terminals
- In-line fuse holder
The first step is to make a plan where you want to attach your LED lights. For instance, you can choose from under the seats, the trunk or under the dash. Measure the space you have available for each strip of light, and make sure you leave at least 1 1/2 inches where you need cable connections. Cut the strips to match your designs – make sure you do not damage them by cutting only on the copper solder pads.
The next step is to place screw terminal connectors on the ends of all the LED strips. Peel the flex strip adhesive, open the paw tab, and insert flex strips. Push the black tab to close securely. Loosen the screws on the screw terminal and wire together each string of lights.
Tighten the screws so that they connect and take care to match your polarities. Use scotch tape to place the LEDs in the desired places (temporarily). Make sure the vehicle is turned off.
This is the last step – connecting to power. As the method explained earlier, disconnect both terminals on the battery. Connect an in-line fuse to the positive terminal by peeling back the end of the fuse cable and attach a ring terminal that matches the battery mode. Additionally, wire the nut straight to the positive side of the 18-22 AWG cable, while the negative one will be in contact with the ground directly or through a ring terminal.
Turn on the vehicle and check out your LED lights. If satisfied, you can fix them permanently and remove the scotch tape holders.
Wrapping up
Here is to improved car design! These easy step by step guides will hopefully have showed you how to connect your LED lights to the car battery. You can then adapt this to suit any LED light and any location. For even more information and details, we have also explained how to connect LED lights to car battery from your car interior and underneath the car. This will allow you to easily light up the areas of your car that need it most.