All about maintaining your RV’s exterior
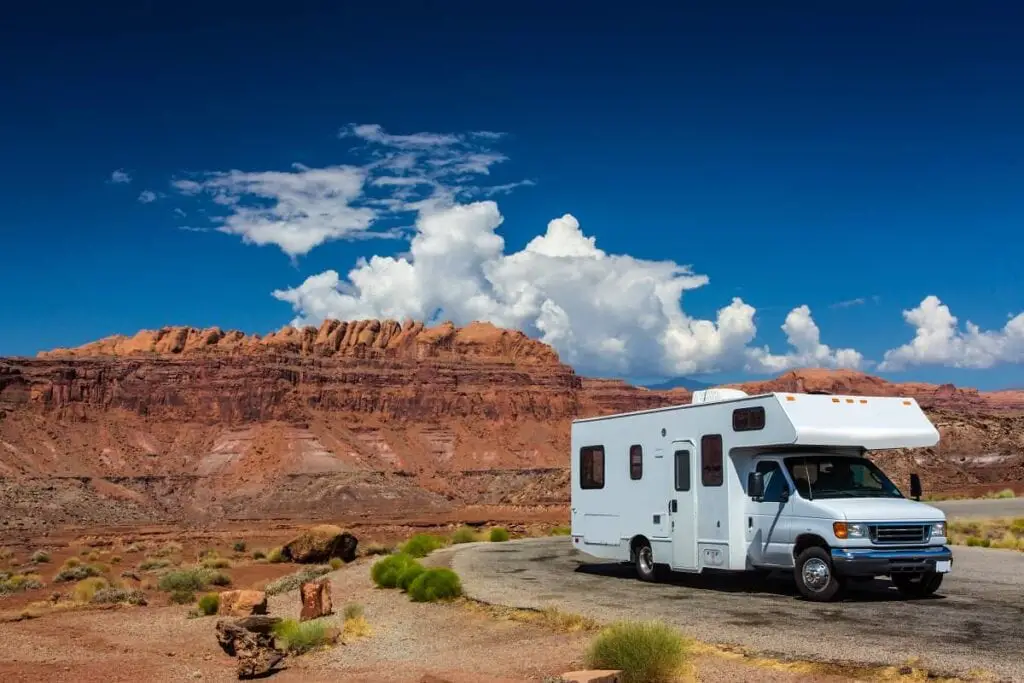
Fiberglass material is being seen more and more often in the world of recreational vehicles. In fact, the majority of modern RVs are being made out of fiberglass because it can withstand harsh climates and is a light material. These are all great features to have, especially when you want to go on a long journey in your RV.
This all may seem like a great deal at first, but you do have to remember that Fiberglass RVs require a ton of maintenance and care. You must be able to keep your RV looking fresh or else you may potentially damage the fiberglass. RV owners typically overlook upkeep, and whatever restorations they do are usually limited to the interior of the vehicle.
This can be because the RV is such an overwhelming size. Many people don’t even know where to start when it comes to cleaning their RV fiberglass. If this is you, then keep reading to learn how to polish RV fiberglass. Let’s get into it!
Make sure you
RVerTV did a great video guide to cleaning up oxidation on RV fiberglass exterior that I recommend watching before moving on!
Make sure you maintain your RV roof as well with a good rubber roof coat protectant.
Little to moderate oxidization
The reason Fiberglass RVs are shiny in the first place is that when the manufacturers finish, they apply a shiny topcoat that serves as extra protection while also giving your RV a luminous shine. Sadly, this top coat will eventually wear down and lose its shine.
The rate at which the shine deteriorates is dependent on several factors such as humidity, terrain, sun exposure, and more. One reason that you wouldn’t expect is oxidization. Once this happens, the shiny coat will become foggy. Polish and wax will both help refurbish your RV, but they are not long term solutions as they typically rub off within a month or two.
Using vehicle wax works because it protects the fiberglass from the outside world. It traps it in an air-free bubble, but only for a short amount of time. Once the wax falls off, the fiberglass is now exposed to the world again, and it will begin the oxidizing process once more. To reapply the wax, you must first wash it semi-thoroughly, and then follow through with the application process. While cleaning your RV, make sure you are not using ammonia, caustic soda, or alkaline cleansers because they may change the color of the topcoat you have. You wouldn’t want your pristine, white RV to turn a nasty green, would you?
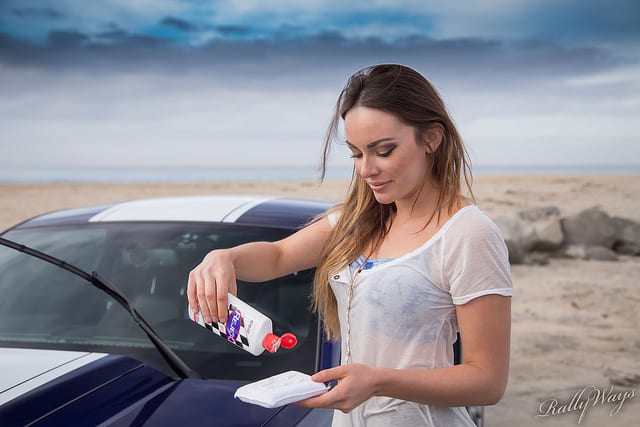
When choosing the correct polish or wax for you, think about what exactly needs fixing for your RV. Do you have many stains? Are there large amounts of oxidation? Do you need to remove scratches? If these fit any of your needs, then consider investing in an abrasive polish. These types will simply rub away all that unwanted nastiness. When applying this type, it is best to use a buffer or other electrical applicator to yield the best results.
Since polishes do not create the protective layer which will keep your RV looking new and shiny, you will need to apply this separately once the majority of grime and oxidation has been polished off the surface.
That brings us to our next topic: how does one actually clean the oxidization off of a fiberglass RV? The answer is relatively simple. It’s just good old fashioned hard work. All you need is a good quality polish, some strong hands to rub it in, and you’ll be good to go. The friction from the abrasive polish will cause the oxidization to just fall off. It’s that simple!
High amounts of oxidization
If you haven’t done maintenance on your RV in a while, the odds are high that your exterior isn’t looking too hot. This may mean that your topcoat has deteriorated past the point of no return. You may be able to use a technique called “wet sanding” to regain a bit of luster, but this process will take quite a bit of time and patience.
Here’s the steps:
- soak your sandpaper in liquid for no less than twenty-four hours. Once it is done soaking, it is time to start sanding.
- Place your paper on a sponge or foam block to protect your hands.
- Next, just begin scrubbing. This is the crucial step of the process. You need to pay extreme attention to detail. One missed spot will look massive when it lays against an otherwise clean RV exterior. Make sure you get all the nooks and crannies that are hiding on your recreational vehicle.
Here’s a great video by Justin Stokes Outdoors showing how to properly wet sand –
Next, you’re going to do some extreme polishing. The higher the grade of the polisher, the better. You may need to do four or even five coats until you get the results you were looking for. If you did miss a spot from the sanding process, you could try to go over it thoroughly with an abrasive polish and follow the steps that were stated earlier.
If your RV has been left to the elements for an extremely long time, you may find that pieces of the actual fiberglass are falling off of the surface. To counter this concerning problem, get a pair of tweezers and just start plucking to see if the fiberglass strand will come completely off. If you can altogether remove the piece, then this means that your vehicle has an erosion issue. From here you have two options:
-
- You could take your car to the shop and have someone paint over the deteriorating fiberglass
- Re-coat the top layer.
The second method is preferable because you can do this at home. If done correctly, you will save money on labor, and you will yield better results than if you were to simply repaint the exterior.
If you find that the fiberglass cannot be taken apart using tweezers, then you are seeing a less common case that has been labeled “imprinting.” Imprinting is when there is an irregularity in the layup production, and the fiber forms a thick build-up. To fix this, you will need to apply a process in which you use both dry and wet sandpaper and scrub.
Although this method is a tiring one, it is incredibly cheap compared to the price of taking your vehicle to the shop. That being said, it is always wise to get a second opinion from a professional before taking any action. You don’t want to end up with a dented and scratched RV because the internet told you to do that.
Washing your RV
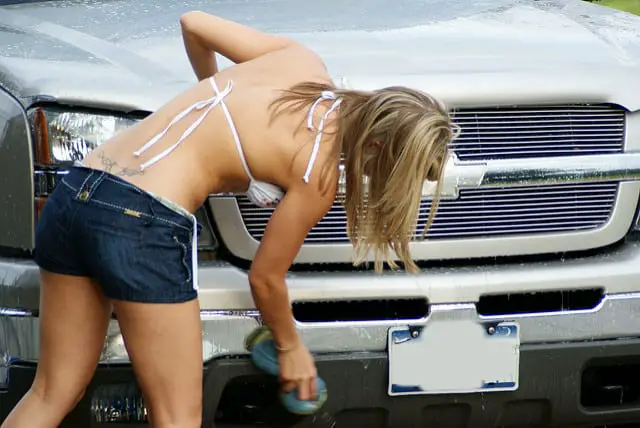
Before you even think about waxing your recreational vehicle, you must first wash it. This will prevent all of that nasty dirt and oxidization from getting trapped under the polish and wax. The more oxidized a vehicle is, the harder it is to wash. This is due to the chemical nature of the fiberglass. Once the oxidization process begins, it draws in dust, which leads to more significant amounts of dirt build-up.
If you were to use typical vehicle washing products in an attempt to remove the oxidization, you would fail. Regular products do not work on oxidized materials. Instead, use a degreasing product and just start rubbing. This type of cleaner will help remove some of the build-up. After this step, follow through with the waxing and polishing, and you’ll be good as new.
If you would like to go for a more natural solution to this problem, then baking soda and vinegar will be your best friends. They are both powerful cleaning agents that will dissolve build-up and grime. This do-it-yourself solution is cost-effective, which is something that I always love. Just remember that homemade solutions don’t work for everyone, and all that vinegar may leave an unpleasant smell.
Preventing Damage
RV maintenance is a hassle, but it needs to be done to have a pristine-looking RV. If all RV owners did regular maintenance, then oxidization would never be a problem. Here are a few tips that will prevent your vehicle from gaining build-up for quite some time.
The most straightforward thing a vehicle owner can do is regularly wash the exterior of their RV. Simply choose a product that will suit you and wash with it. I would recommend a product that has a waxy finish, so it will make it harder for grime to stay on your vehicle. It is also recommended to wax your vehicle at least once a year to protect the exterior from the elements.
You must realize the conditions of where you live. This can include the average temperature, amount of rainfall, and sun exposure. All play a critical role in the aging process of your fiberglass vehicle. It will be in your best interest to keep the vehicle out of the sun. In doing so, you will maintain the integrity of the wax longer, and you will reduce the amount of oxidization.
Conclusion
Fiberglass oxidization is bound to happen, and that’s the bottom line. Knowing how to polish RV fiberglass is very important. There are measures to prevent this from happening quickly, but at one point in your life, you will have to deal with oxidized fiberglass. It isn’t as life-ruining as it sounds, but you must take care of the issue right away. If you don’t do this, you will run the risk of worsening the problem.
Just remember: maintenance is essential! It may be laboring or dull, but it will be worth it in the end. A beautiful looking exterior can go a long way. It will make all the neighbors jealous, your recreational vehicle will feel more like a home to you, and a glossy exterior can drastically increase the resale value of your vehicle. So grab your gear and get polishing!