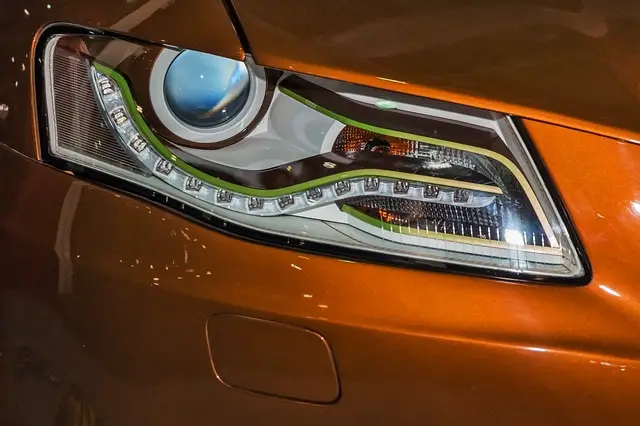
I can’t blame you for wanting an LED headlight upgrade, especially if you’re the type of car owner who’s concerned about improving safety, style, and visibility.
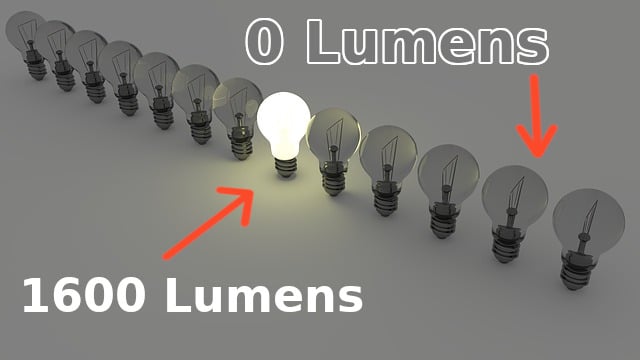
You can quickly increase your lumen output, and let’s be honest, those blue 10,000 K ultra aqua blue bulbs look sweet!
In truth, it is relatively easy to retrofit a modern set of LED bulbs in the headlight of your vehicle. Most aftermarket LED kits will come with everything you need to ensure a smooth and hassle-free installation.
Related: Best LED Headlight Conversion Kit
But it’s not that easy. Installing LED lights in car headlights will require a couple of simple modifications and a ton of common sense. Here’s why.
Things to Consider Before Installing LED Bulbs in Car Headlights
- Is it legal? Before upgrading to a new set of LED headlight bulbs, make sure it is legal to do so. Most aftermarket LED bulbs for automotive applications are not DOT approved. In some cases, the bulbs might also blind other drivers due to the intense brightness.
- Do you have enough space? Check the engine bay in your vehicle. Unlike halogen bulbs that don’t require fans or heat sinks, installing LED bulbs might take up too much space under the hood. You see, LED headlight bulbs will either come with large circuits underneath that require constant cooling. With that being said, you may need to remove certain components under the hood to access the headlight housing. This will also allow you to judge how much room is needed to accommodate the new LED headlight bulbs.
- Do you have adequate venting? Unlike conventional halogen bulbs, the diodes in LED bulbs will not produce a lot of heat even under extreme or continuous usage. However, the bottom part of the bulbs are the ones that need to vent out heat. On the other hand, the circuits in a typical LED headlight bulb will produce tons of heat, thus necessitating small cooling fans or a ribbon-like heat sink.
- Is there any soft plastic near the LEDs that could melt? Due to the presence of excess heat in the bottom part of LED bulbs, there is an impending danger of melting the surrounding plastic components in the headlight assembly, including other components in the engine bay. The installation itself is easy, but positioning the heat sinks is another story. Unfortunately, the process will depend on how much room is available under the hood.
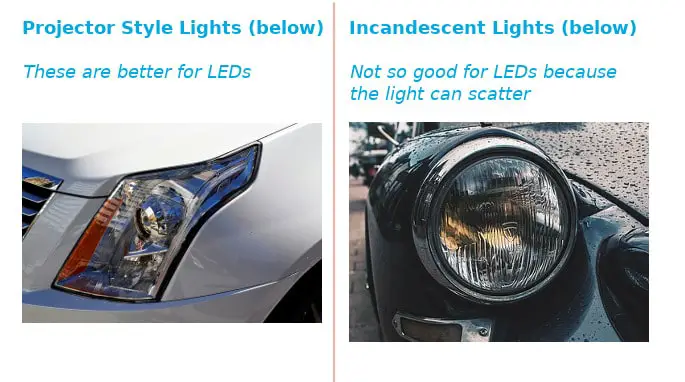
- Is your light housing “Projector Style” or “Incandescent Style”? Modern cars equipped with standard LED lighting will come with specific headlight housings. Retrofitting LED bulbs in a headlight housing designed for halogen or HID bulbs may not produce the results you’re looking for. Halogen bulbs are designed to emit light in all directions (omnidirectional). Most LED bulbs will only emit light depending on the placement of the diodes. The result is a shorter throw of light compared to conventional halogen bulbs, which might not be good for high-speed driving in the dark. It can also spread the light to the wrong places causes other drivers to be blinded!
How to Install LED Lights in Vehicle Headlights
Now that we got a couple of issues out of the way, it is time to discuss the steps on how to install LED lights bulbs in your vehicle.
First, I suggest you watch this quick video by Scotty Kilmer over on youtube to get a good grasp of how this process works.
Before you proceed, make sure the vehicle is parked in a safe and level area. It is also ideal to work in the afternoon, preferably a couple of hours before dusk. This ensures you have enough natural light to complete the job, and you can test the headlights in the dark without waiting too long.
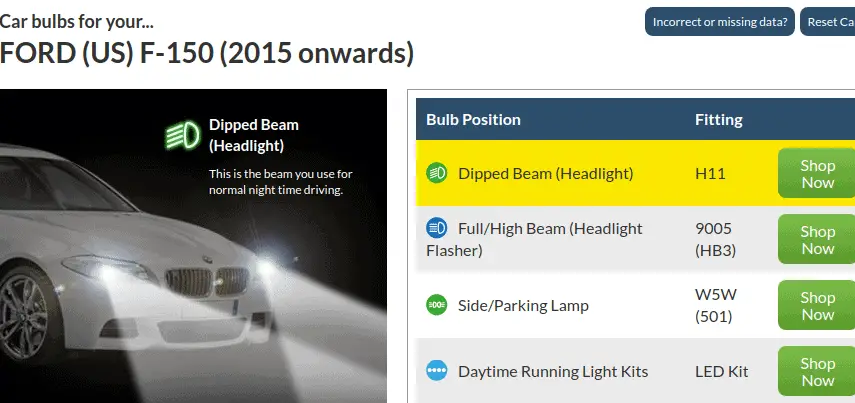
Step 1: Find the right sized-bulb for the job. Make sure to buy an LED bulb that is an exact fit to the headlights in your vehicle. The bulb classification will depend on the make and model of your vehicle. Typical headlight fitments will include H1, H3, H4, H7, H11, HB3, and HB4. Take note that these headlight fitments are not interchangeable. For example, while an H3 and H4 bulb might have the same light output, you won’t be able to fit an H3 bulb in an H4 socket and vice-versa.
If you’re still unsure what size headlight bulb you need, head over to a site like PowerBulbs and key in your car or truck year. I put in an example below of an F150. As you can see it takes an H11 Low Beam and HB3 High Beam
Step 2: Remove the old halogen bulbs. If you’re not familiar with this, check the owner’s manual. The usual procedure are as follows:
- Pop open the hood.
- Disconnect the power socket from the bulb.
- Pull out the rubberized cover that protects the headlight housing from moisture.
- Unhook the spring that secures the bulb in the housing.
- Remove the bulb carefully.
Step 3: Install LED Lights! Depending on the type of bulb, the kit will come with circular adapters that hold the bulbs in place. Simply install the adapter, hook the spring, and insert the LED bulb. You may need to turn the bulb to lock it further in the housing.
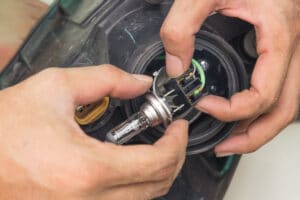
Step 4: Now comes the tricky part. The LED bulbs will either come with a large base (with a cooling fan) or a series of ribbon-like heat sinks at the bottom of the bulb assembly. Due to this fact, you might not be able to reinstall the rubberized cover.
You can either cut the cover to make the hole larger, or you can use a different cover altogether. The tricky part is fitting the heat sink so it won’t melt the cover once the LED bulbs are in operation. Like I said, the heat sink will get pretty hot even after just a couple of minutes, so you better put this into consideration.
The heat sink might get too hot to melt other plastic and rubberized components under the hood. Make sure the heat sinks are not touching sensitive components to ensure a safe operation. However, the lack of wiggle room under the hood will make this a bit difficult to accomplish, so take your time when doing so. Who says retrofitting is easy?
Step 5: Plugging in the bulbs. In truth, this should only be a simple plug-and-play procedure. If you bought the right set of LED bulbs, powering the unit is simply plugging in the socket to the factory wiring in your vehicle.
Step 6: Turn the headlights on to check the light. Congratulations! You can now enjoy a brighter and more intense light!
Step 7: The job’s not done. After testing the new LED headlights, perform a double check under the hood to ensure all wiring and heat sinks are in their proper place.
Optional – At this point you could consider cleaning your headlight lenses if they’re dirty
Conclusion
Choosing to upgrade and install LED lights in your headlight housing doesn’t have to be a daunting task. Consider the cost as it can be expensive to upgrade your housing to Projectors and the cost of good LEDs bulb can run in the $300 price range.
But can you put a price on safety for you and your family? Installing new LED’s can greatly increase your driving safety by illuminating the road and should be considered if you have old, dull halogen bulbs. Read more about upgrading those old halogens here
-Mike