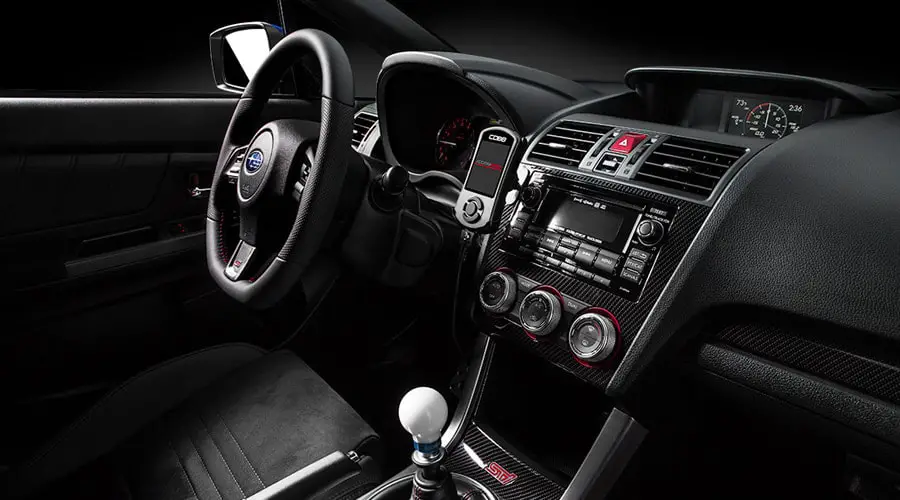
The Cobb Access port V3 is a top-selling engine control unit (ECU) that is easy to use and just as easy to set up. This awesome ECU can access and boost the power that your car has but you usually do not get to use. Once it is installed, you can reset the moderate factory settings and overwrite them with new calibrations that are more powerful. The Accessport allows the driver to see, show, and data-log information that is the original ECU lists while your vehicle is turned on. It also lets you have any Cobb licensed Pro-Tuner create a custom tune that is exactly what you want for your car.
You need to install the hardware and then you can choose the maps you need on the Accessport for the perfect driving experience.
How to Load Maps
If you have purchased the Cobb Accessport V3, you have a few things to set up before using it. One of these things is to get maps loaded and ready for install on your car. The following instructions are easy to follow and work for all vehicle makes and years that are compatible with Accessport.
1. Enable Accessport to get up and going.
To do this, install Accessport Manager on your computer. This software enables you to transfer data from your Accessport to your computer and vice versa. This is easily done by going through the Cobb website. You find the link here.
Accessport Manager is set up for Windows or OSX Operating systems. It is the management tuning software for the device. Make sure you are uploading the newest version by using the Cobb site as older versions of the software may be elsewhere. They are either under the same name or Accessport Updater. This tuner software lets you take care of datalog files and update the firmware as well.
You need a Windows program newer than Vista or macOS 10.12 if you have purchased a V3 and have USB 2.0 ports. If you don’t have access to these ports, you can use a USB 2.0 hub as well. The V3 is also compatible with USB 3.0.
2. Connect Accessport through USB
Once your computer is ready to go, you can connect the Accessport itself through the USB port. With your computer on, use the cord that came with the product and connect both the Accessport and computer to each end. Your computer may show that the two are now connected and able to communicate. If not, they should be doing so after the next step.
Open the Accessport manager program and click on “connect”. This should make the link between the two accessible and ready to use. Your system may do this automatically when you open it up if Auto Connect is turned on.

Source: cobbtuning.com
3. Import
Once you are in the program and your Accessport is connected, look on the righthand side of your screen and you will see “Import File(s) to Accessport”. Select that and click.
4. Pick your map
Choose the file you want to install on your Accessport. This may be something you want to do some research on ahead of time so you know what works best for your vehicle and the maps you want to install for best performance.
While you are looking at the map you want to select, it is a good opportunity to delete any that you aren’t going to need from your Accessport tuner. For example, you can only access or use 91 octane gasoline then you can delete the maps that are for those running on 92 octane. The other option you can consider deleting is the custom tuning Stages. If your vehicle is a Stage 1 then you won’t be using Stage 2. Getting rid of the excess maps leaves space and makes it easier to find what you want when you start loading them onto your vehicle.
To do this, simply go to the main screen and choose the file(s) you want to remove. You can choose more than one file at a time so just hold the CTRL button (or CMD if you have a Mac) while selecting different files you want to delete. Once that is done, you simply click “Save selected file(s) to my computer”, choose a folder where you want them to land, and they’re off your Accessport and on your computer. You just click “ok” and you are done. The great thing about this is you can always go back and reinstall them if you decide you want to use them.
Click “Open” on the file you have selected and the file transfers onto your connected Accessport.
5. Disconnect
When the transfer is complete, simply click “Disconnect” and you can install the new map you have chosen on your vehicle.
Final Thoughts
Everything about the Cobb Accessport has been made to make things simple for the user. There is nothing complicated or taxing in how you use it. The hardware install, firmware updates, and map upload of the Accessport keeps things straightforward. Follow the listed steps closely and head over to the Cobb website if you have any issues. Their customer support is available to help you through any issues you might have. One of the benefits of this device is everyone can use it, from beginner to expert. If you know what you want to do in regard to tuning your vehicle and the maps you need then your plan for better vehicle performance should easily fall into place. You will have your vehicle tuned and be on the road in no time with better performance and power.
We also wrote a Cobb Subaru Advanced Tuning Guide if you’re like many WRX owners who run the Accessport V3.
Check out more of our Cobb guides:
- Load Cobb Tuning Maps
- Cobb Flex Fuel Kit
- Cobb Exhaust Systems cleaning
- Cobb tune on WRX
- Cobb Stage 2 WRX Subaru Power Package