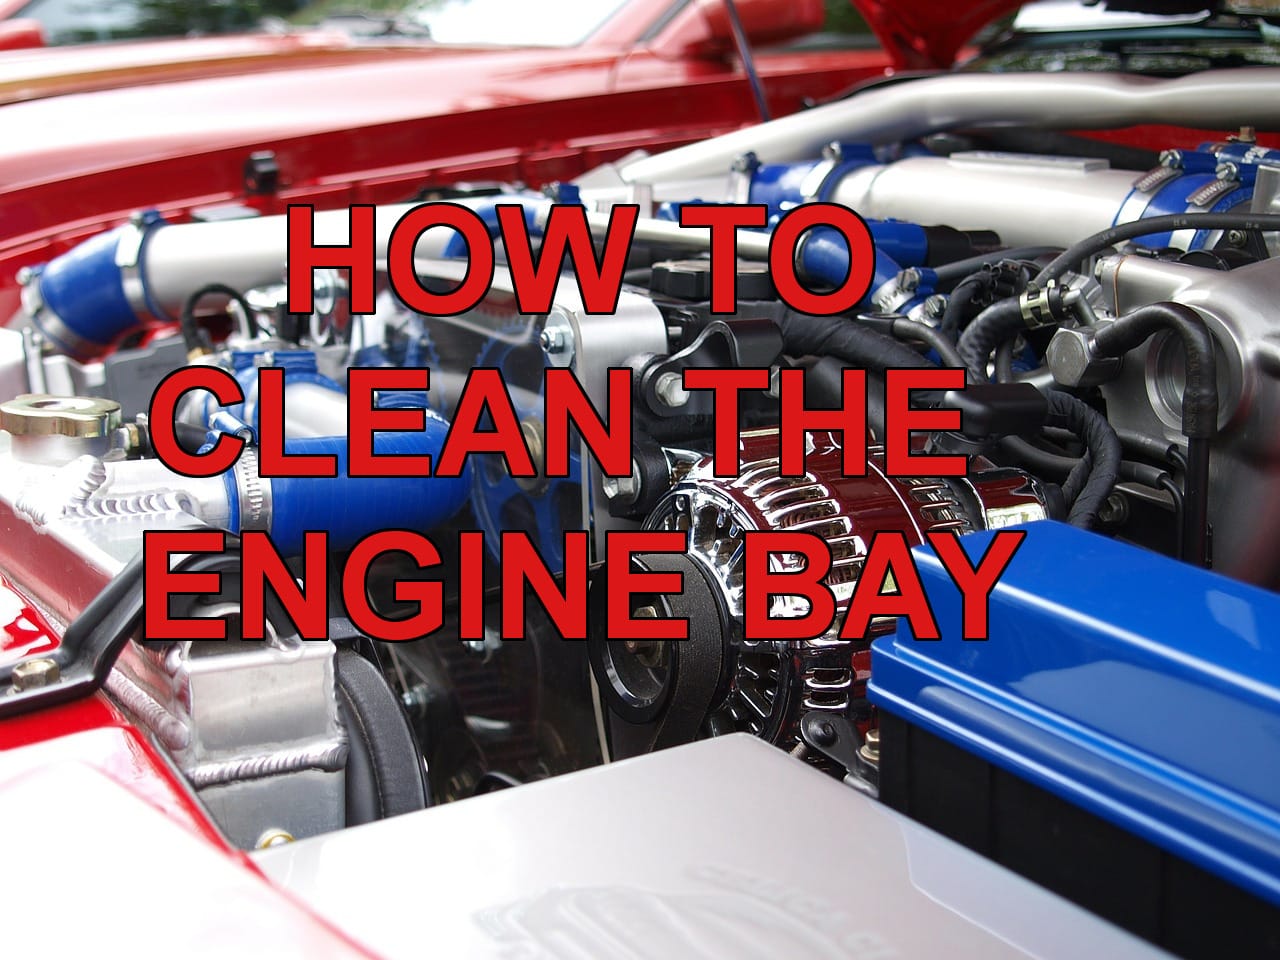
Hi there! This article is aimed at the car enthusiast who wants to know how to clean the engine bay. Since I know that the engine is probably the part of your car that gets the least amount of attention (or is the least to be cleaned), it would be extremely helpful to discuss the rudiments of engine detailing.
A Degreased Engine is a Happy Engine!
If you demand nothing less but a gorgeous looking car, then you better clean it inside and out. And by inside, I am referring to the engine and the components under the hood. The engine bay will accumulate a TON of dust, dirt, and grease when left unchecked. It is only natural to clean the underhood every once in a while. Although you might say that cleaning the engine bay is only good for cosmetic reasons, nothing beats the feeling of a prim and proper engine bay, especially if you’re the type of car owner who consistently inspects fluid levels or if you do a lot of fixing under the bonnet.
In order to better facilitate the process of professional-level engine detailing, you will need to have the right tools and employ the right procedures. By the end of this article, you will know the easy steps on how to degrease a dirty engine bay so you can beam with pride as you show your family and friends your newly detailed engine.
Detailing Tips
Before proceeding to discuss the actual steps on how to clean the engine, here are a few engine detailing tips that you need to remember. This will prevent you from making a mess of the whole process, or worse, prevent your car from starting after washing the engine.
- NEVER work with a hot engine bay. It is always good practice to let the engine cool down for a couple of hours before cleaning or degreasing. The best time to wash the engine is early in the morning on a boring Sunday, or preferably in the late afternoon. I prefer to clean the engine in the afternoon, just a couple of hours before the sun sets. My reason behind this is that the engine will have a chance to dry fully into the night so my car is ready the following morning.
- Degreasing is all part of the process. If there is a lot of engine grease or thick wads of gunk on the engine, it is good practice to degrease the engine first before cleaning. Of course, there are products that you can buy that will degrease and clean the engine at the same time. My point here is if your engine has oil or coolant leaks, or if the gaskets in the valve cover or engine head are worn out and have accumulated a lot of oil stains, you will need to get this fixed before cleaning the engine. Persistent oil leaks will defeat the purpose of detailing the engine bay in the first place, right?
- You will need to wrap the alternator and electrical components with plastic wrap or aluminum foil before spraying the engine with water or degreaser. Believe me when I say that spraying water on the alternator is a bad idea! It would mean the death of your vehicle’s charging system and it will cost you hundreds of dollars to replace a bad alternator. It’s the same with the fuse box, electrical plugs, the engine oil dipstick, the air intake, and the high tension wires. Before washing the engine, it is best to wrap all these sensitive components with aluminum foil or plastic wrap to achieve the best possible results (read: to prevent damaging your car).
- If you are going to use a hose, you should attach a sprinkler attachment in order to control and dissipate the water pressure. Simply attacking the engine bay with a strong and steady stream of pressurized water could lead to disaster. You only need a light mist of water to get the job done. Never make the mistake of drowning the engine bay with a strong and persistent stream of water, unless you like the idea of the car not starting after cleaning the components under the hood.
- Avoid using harsh detergent or dish soap. Yes, dish soap is extremely effective in dissolving oil, sludge, and dirt. But you have to keep in mind that there are a LOT of rubber and plastic components under the hood like the engine hoses, belts, and the fuse housings. Dish soap will dry out rubber and plastic parts and will lead to early deterioration or premature damage. This is also the reason why it’s a good idea to spray the engine bay with a detailer or protectant after cleaning and degreasing.
When Should I Clean the Engine Bay?
Good question. The answer is at least once a year or every 6 months. You should also consider cleaning the engine after the rainy or summer seasons. Of course, you can always let a professional engine detailer do the job for you, that’s if you don’t mind forking over $40 to $150 of your hard-earned cash. Other shops will charge much more depending on your vehicle or engine size.
If cash is tight, then there’s no reason why you shouldn’t clean the engine yourself. As I said before, if you equip yourself with the right tools and the right knowledge, you can easily clean the engine bay like a pro without the risk of damaging your vehicle.

How to Clean the Engine Bay and Do it Right
Here are the easy steps on how to clean the engine so you can do it right each and every single time.
If y0u’re a visual learner like Vince, check out ChrisFix’s video on engine bay cleaning
You will need:
- Garden hose with sprinkler attachment
- A can of engine degreaser – Matt wrote a good guide to the choosing the best engine degreasers
- Old toothbrush or engine detailing brush
- Aluminum foil or plastic wrap
- Masking tape
- Spray protectant or finishing detailer (Armor All Spray Protectant)
- Terry cloth towel
Step 1: Park the vehicle in a safe and level area. Raise the hood and carefully inspect the engine bay. Now is the perfect time to remove dead leaves and loose vegetation from the cowl (the plastic component under the wipers and front windshield). Some people will tell you to remove the battery before cleaning the engine, but you can safely proceed provided that you exercise extreme caution when spraying water under the hood.
Step 2: Wrap the alternator with aluminum foil or plastic wrap. Use masking tape to secure the foil/wrap. Proceed to do the same on the engine oil dipstick, the transmission oil dipstick (for vehicles equipped with an A/T), open air intake, and electrical plugs/connectors. Take your time in doing this. This is an important step that will mean the difference between success and disaster.
Step 3: Rinse the engine bay with clean water. Grab the hose with sprinkler attachment and proceed to rinse the engine bay with water. The point here is to remove loose dust and dirt before degreasing. If you feel inclined to use a cotton rag to wipe out thick layers of stubborn dirt, feel free to do so.
Step 4: Spray engine degreaser. This alone will do wonders for your engine bay. Products like the No products found. and the No products found.r are my favorites since they do a pretty good job of dissolving dirt and oil sludge. The trick is to follow the directions on the bottle. Most of them will require soaking for about 10 to 15 minutes before rinsing.
Read more about choosing the top engine cleaning solutions to make degreasing easy: DIY Engine Detailing – Best Engine Degreaser
Spray a liberal amount of engine degreaser on every nook and cranny of the engine bay. Let stand for 5 minutes and use an old toothbrush or engine detailing brush to remove stubborn dirt and oil from plastic and rubber parts. Feel free to spray more of the degreaser if you are so inclined.
Let the product soak for at least 10 minutes. Now is a good time to take a much-needed break.
Step 5: Rinse with water. Grab the garden hose and rinse off the degreaser. Make certain to remove any traces of the degreaser from the engine bay. Again, avoid using a strong water pressure when rinsing. A moderate trickle is good enough.
Step 6: Let the engine dry. Now is a good time to remove the aluminum or plastic wraps from the parts that you covered before cleaning. Grab a terry cloth towel and wipe the surfaces dry. You can also use a vacuum cleaner or portable blower to blow off any standing water.
You should ensure the surfaces are perfectly dry before proceeding to the next step.
Step 7: Apply finishing detailer. I personally use the Armor All Matte Finish Protectant Spray. In my humble opinion, the matte finish looks better under the hood. It gives it an OEM brand new look without the excessive shine. This product will fight aging, cracking, and fading while restoring the deep and rich look of the engine bay. It will also renew the look of plastic and rubber parts without the greasy finish.
You can proceed to skip this step if you prefer not to use a finishing detailer. However, this is safe insurance against premature wear and tear on plastic and rubber parts especially after degreasing the engine.
Now step back and admire your work. Doesn’t it feel good to have a squeaky clean engine bay? Not only will your car look more fabulous, but it will be easier to maintain this look with a few wipe-downs weekly or every other week.
Reminders
- Frequent washing and degreasing of the engine bay are not recommended unless you really know what you’re doing. You should only wash the engine at the end of every season or at least twice a year. If you have a brand new car, the vehicle will receive an engine wash after each servicing job at the dealership so there’s no need to degrease the engine.
- Regularly inspecting and wiping off dirt and dust under the hood will make the detailing process much easier. It would be best to have a cotton towel in hand every time you pop open the hood so you can quickly wipe off excess dust and dirt when inspecting the engine fluids.
- Do not attempt to start a wet engine. Make sure that the engine bay is dry before starting your vehicle.
Conclusion
If you spend a lot of hours washing your car or truck to look good from the outside, you should allocate some of your time to clean the engine every once in a while. There’s no need to spend a ton of money on engine detailing products. As you can see right here, it doesn’t take much to restore the look of your engine bay. The most important thing is to have a bit of common sense in order to safely clean and degrease your engine to achieve a better-looking car.
-Mike