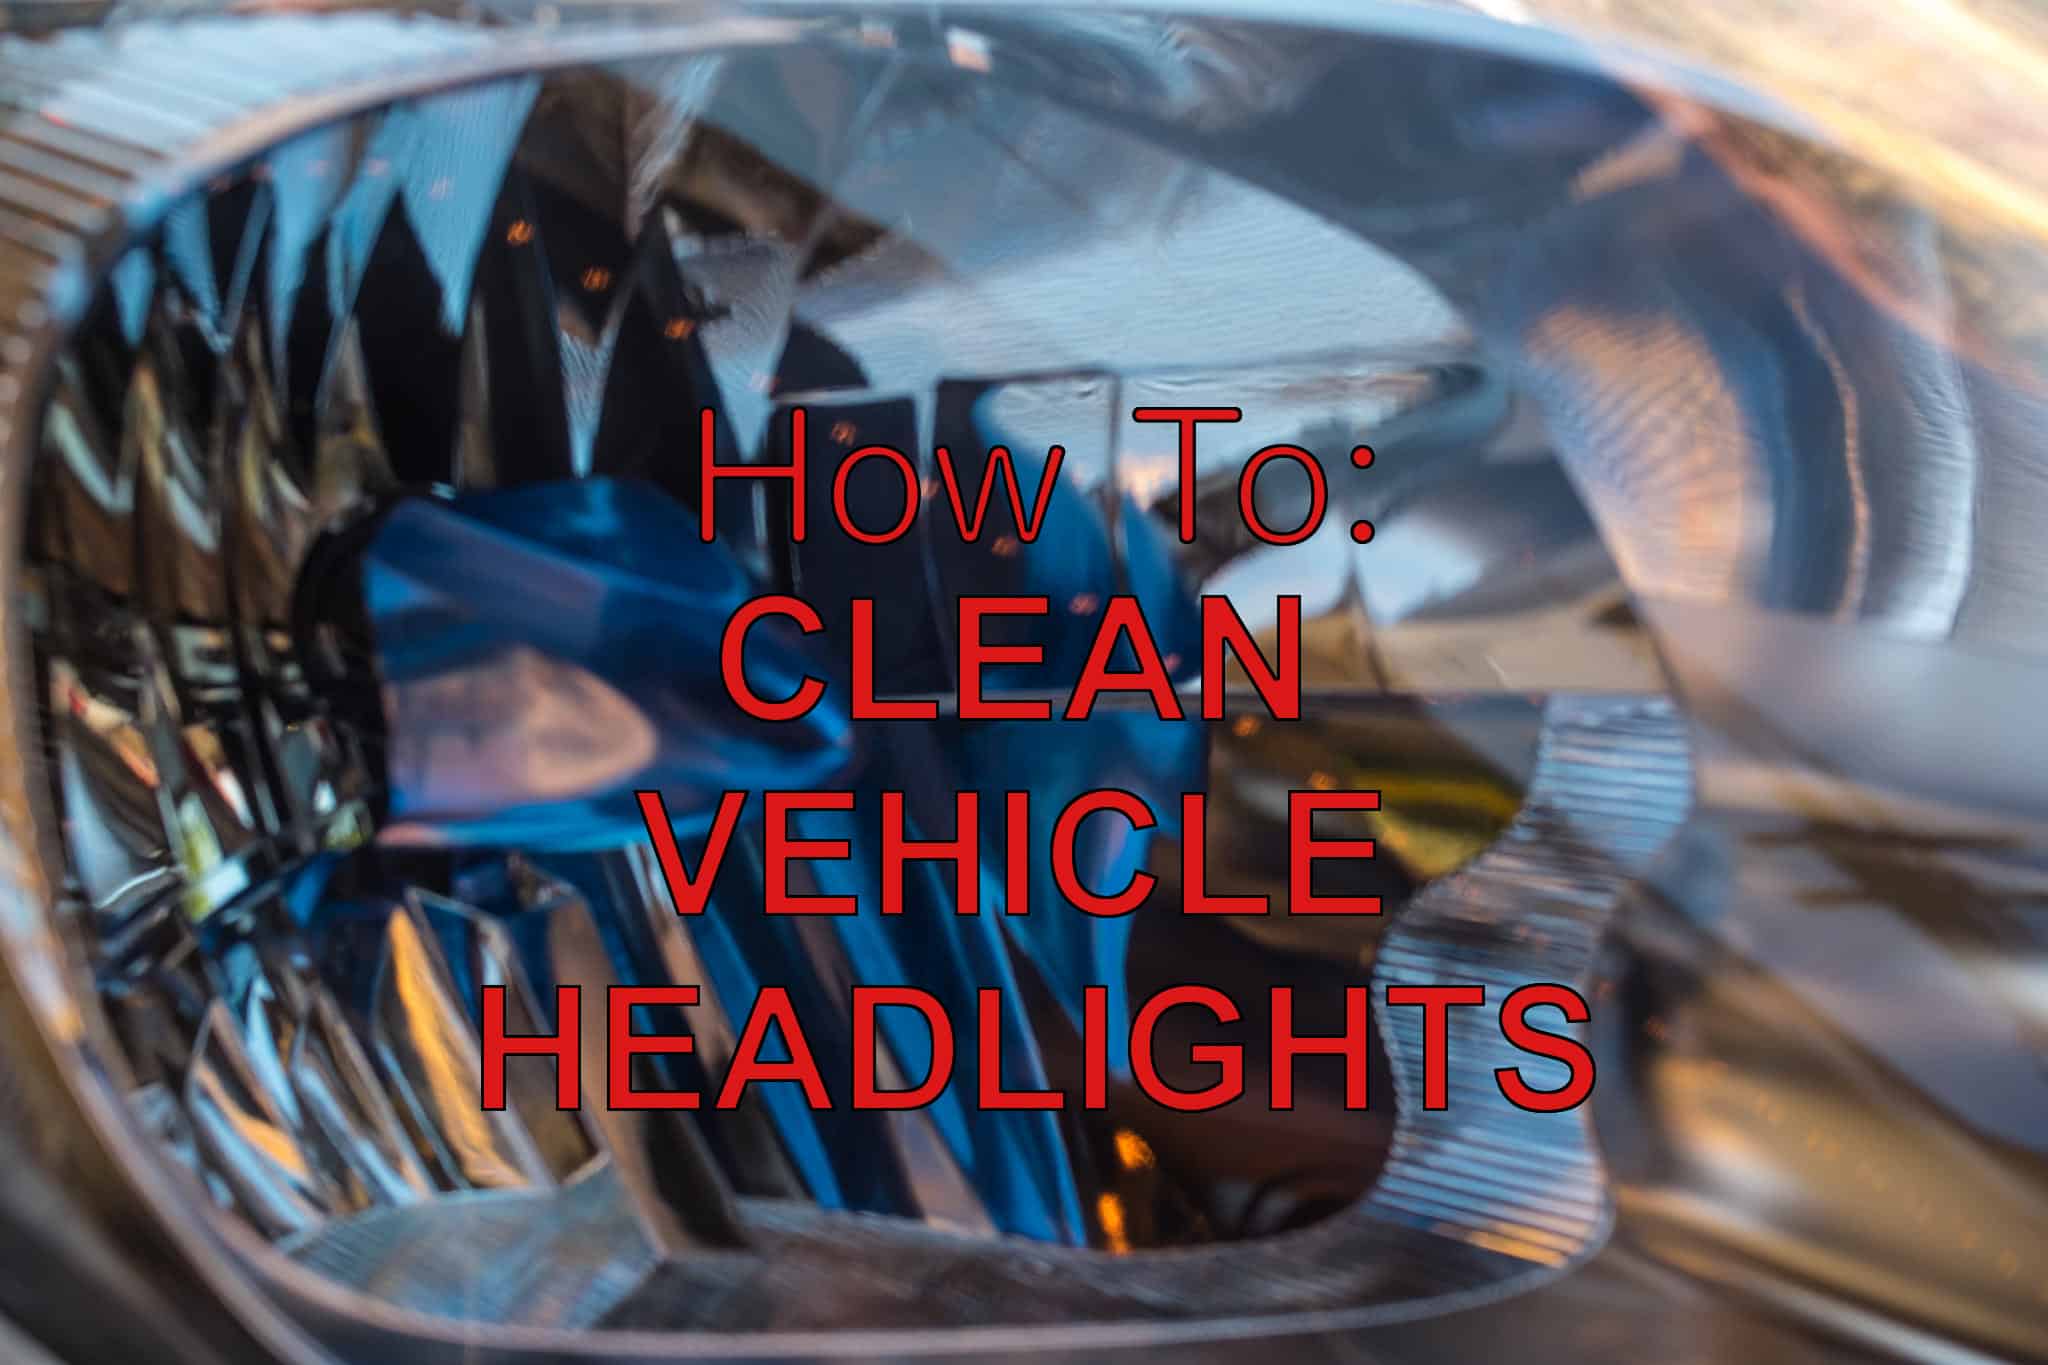
We received a lot of feedback on our guide to the best vehicle headlight restoration kits that Vince wrote a while back and wanted to do a follow up to talk about some more tips to breathing new life into your old headlights.
You can consider the headlights as the eyes of your vehicle. Without an attractive and clean set of eyes, your vehicle will look old, dated, and tired, no matter how shiny the paint job. All the hard work spent washing, polishing, and waxing your car will feel inadequate without a spotless pair of headlamps. I will show you the proper steps on how to clean vehicle headlights using various methods that are proven to work so you don’t need to buy an expensive new pair of aftermarket or OEM lights.
Polycarbonate Headlight Lenses
Headlights equipped with polycarbonate plastic lenses will inevitably age no matter how often you wash or clean them. Compared to those old school glass headlamps that are more resistant to yellowing, fading, and haze, polycarbonate headlights need special care as your car grows older.
Why did carmakers switch to plastic lenses? The answer is simple. Plastic can be molded to form complex shapes. Plastic is also lighter and cheaper to manufacture. You can thank polycarbonate for the modern designs and contoured fascia of modern cars. Without it, we would still be stuck with plain old square and round headlamps. Nothing wrong with that, but can you imagine an Alfa Romeo Giulia Quadrifoglio with square headlights? No sir!
However, the disadvantages of polycarbonate headlights are hard to ignore. First, headlights are exposed to heat and radiation emitted by the bulbs, especially if your car is still using halogen headlight bulbs. Halogen lights burns hotter than HID (High-Intensity Discharge) and LED bulbs, which can lead to accelerated wear.
Next, even though polycarbonate plastic is scratch-resistant, the outer layer will quickly degrade when constantly exposed to the harmful rays of the sun. Extreme temperature changes will also affect the integrity of your plastic headlights.
It’s a known fact that polycarbonate headlights are pretreated with a protective UV coating from the factory. That’s all well and good. But as you drive your car through rain, mud, snow, insects, asphalt, dust, and extreme heat, the UV coating from the factory can only do so much to protect the plastic.
Improper cleaning and inadequate maintenance will also cause hairline scratches, cracks, or craze on the lens. Craze is harder to fix since it is essentially like a deep scratch on the paint. Minor surface damage will further accelerate the wear and tear on your headlights. The result is yellowing, fading, warping, and a cloudy or hazy appearance. This will not only affect the overall look and style of your car, but it will also diminish the performance of your headlights when you’re driving at night.
Cleaning the Headlights are a LOT of Work!
Yes, I admit that cleaning the headlights to get rid of scratches, yellowing, and haze will take a lot of work. And I mean a LOT. There is a lot of elbow grease involved in the cleaning process. However, the results will be worth it.
With that being said, if you are planning to restore the brand new look of your headlights, you need to do it right. I will discuss a couple of DIY methods that you can employ at home without buying special headlight cleaners or materials from the nearest hardware store. I will also discuss the proper way to sand and polish your polycarbonate headlights to achieve lasting results.
Method #1 – Cleaning Oxidized Headlights with Toothpaste
Don’t laugh. This method actually works on mild yellowing and oxidation. If your car is relatively new and you simply want to bring back the crystal clear look of the headlights, there is no need to sand and polish the lens. All you need is a small tube of toothpaste and a couple of microfiber towels to finish the job.
Chrisfix did a great writeup on this method
Materials needed:
- Toothpaste (plain white toothpaste is preferred)
- Microfiber or clean terry cloth towel
- Masking tape
- Carnauba wax or any kind of car wax
- Water
Step 1: Before proceeding to polish the headlights, you should start with a clean car. It is best to wash and dry the car before proceeding. If washing the entire car is impractical, you should clean the headlights with water and a soft cloth to remove excess dust and dirt from the lens.
Step 2: Apply masking tape on the edges of the headlight to protect the surrounding paint from scratches or stains. You don’t want to rub in the toothpaste to any painted portion of the car since it contains mild abrasives that can ruin the paint.
Step 3: Grab a clean microfiber or terry cloth towel and wet it lightly with clean water. Apply a small dab of toothpaste on the towel and rub it firmly on the headlight lens using small circular motions. Add more water if the toothpaste dries, or add more toothpaste as needed. Proceed to do the same on both headlights until you achieve the desired results.
Step 4: After polishing the headlights, rinse the area with water and wipe dry with a separate towel. Carefully inspect the headlights and repeat the above steps if needed.
Step 5: The last step is to apply a thin coat of carnauba wax on the lens. The wax will help to seal the surface of the lens and protect it from UV damage. Use a clean applicator pad and apply a small amount of wax. Allow the wax to dry to a haze before buffing off the residue with a clean towel.
Method #2 – How to Clean Headlights with Glass Cleaner and Car Polish
The next method to clean the headlights requires the use of glass cleaner and car polish. Take note, use polish, not wax. Polish contains abrasives similar to toothpaste and is effective in removing stains and mild surface damage on the lens. If your headlights have a lot of fine scratches and mild traces of oxidation, this method is perfect for you.
Materials needed:
- Glass cleaner
- Car polish
- Water
- Masking tape
- Microfiber or terry cloth towel
- Carnauba wax
Step 1: As always, it is best to start with a clean pair of headlamps. Wash the headlamps with mild car shampoo and water to get rid of dirt and dust. Wipe to dry.
Step 2: Apply masking tape on the surrounding areas of the headlights. Even though we will be using car polish, it is still best to protect the surrounding areas of the headlight assembly with masking tape.
Step 3: Spray glass cleaner on the lens and wipe the surface clean with a microfiber or terry cloth towel. Repeat if desired.
Step 4: Grab another clean towel and prepare to polish the lens. The towel should be clean and damp. Apply a small amount of polish on the damp towel and rub the lens in small circular motions. Add more polish if desired. The longer you spend polishing each lamp, the better the results. You can also use an orbital buffer for this process but a little bit of elbow grease will yield the same results.
Step 5: Wipe off the excess polish with a clean and dry cloth.
Step 6: Apply wax using a separate dry towel. The wax will act to seal the surface of the lens to achieve a smooth and uniform finish.
Method #3 – Intensive Headlight Restoration
This last method is reserved for extremely foggy, cloudy, or yellowed headlight lenses. If the above methods didn’t work, then you will need to properly sand and polish the surface of the lens to restore clarity.
This method will take a lot of work, and you will need to buy a couple of things from the hardware store to do it right.
If you want to grab these materials in an easy to use kit, Vince reviewed the top headlight restoration kits here
Materials Needed:
- 1000-grit wet/dry sandpaper
- 1500-grit wet/dry sandpaper
- 2500-grit or 3000-grit wet/dry sandpaper
- Bucket of clean water
- Masking tape
- Car polish
- UV sealant or carnauba wax
- Microfiber or terry cloth towel
- Orbital buffer (optional)
Step 1: Start with a clean and dry surface. If the headlights are dirty, wash them first with water and car shampoo. Wipe the lens with a cloth to dry.
Step 2: Apply a thick layer of masking tape on the surrounding areas of the headlights. If your vehicle is equipped with chrome trim on the headlights, you should remove the trim altogether or cover them with a thick layer of masking tape. Sand paper will inevitably damage chrome, and you don’t want that to happen.
Step 3: Grab a small piece of 1000-grit sandpaper and soak it in cold water for about 10 minutes. After that, proceed to sand the lens using a back and forth motion. Remember to keep the surface wet as you sand the lens. Take special care not to damage the surrounding paint or trim.
You should continue doing this until all traces of scratches, pits, and discoloration are eliminated from the surface. Check the condition of the surface by wiping the lens dry with a towel. Proceed to sand again if you still see a lot of damage on the lens.
Remember to sand in a back and forth motion only, from left to right. The lens will look very hazy after this procedure. This is normal so don’t worry. When you’re done, rinse the area with clean water and wipe dry.
Step 4: Grab a small piece of 1500-grit sandpaper and soak it in water. Use this to sand the lens in an up and down manner. Remember you were told to sand the lens in step 3 using a left to right motion? You will now sand using right angles or an up and down motion to eliminate the abrasion peaks left by step 3. Switching the pattern will flatten out the abrasion peaks to achieve a smoother finish later on.
Take your time while doing this next step. Spray water on the lens or dip the sandpaper in water if the surface begins to dry. The longer you do this, the better the result. You can also sand using an orbital buffer but I prefer using my hands for this procedure. Rinse the area with clean water and wipe dry when you’re done.
Step 5: Soak a small piece of 2500-grit or 3000-grit sandpaper in a bucket of water. Use this to further refine the surface of the lens using the same left-and-right motion described in step 3. Again, take your time while doing this. Always sand with a wet surface. Rinse with water and wipe dry when you’re done with this step.
Step 6: After sanding the lens with varying grits of sandpaper, it is now time to apply polish. The polish will serve to smoothen up the very fine scratches caused by the sandpaper. It will also restore the clarity of the lens.
Use a damp piece of towel to apply a small dab of polish on the lens. Work the polish on the lens using small circular motions. Apply more polish if needed. You can also use an orbital polisher with a lamb’s wool or terry cloth pad for this procedure.
Step 7: Apply wax. Use a separate clean towel to apply a fine layer of wax on the headlights. Wax will protect the freshly sanded surface from road salt, dirt, and acid rain. Allow the wax to dry to a haze before wiping off the excess with a clean cloth.
Step 8: This last step is optional though highly recommended. Apply UV sealant on the headlights using a clean towel. This will further seal the surface and offer longer protection against yellowing or oxidation. Always follow the directions indicated in the bottle to achieve the best possible results.
Conclusion
Now you know the different methods on how to clean the headlights in your car. Restoring the brand new look of your headlights will require a lot of patience and elbow grease, but this is better than forking over hundreds or thousands of dollars for a new pair of headlights.
Matt