If your camper or RV has an EPDM rubber roof, you should consider treating it with an RV rubber roof coating for added protection.
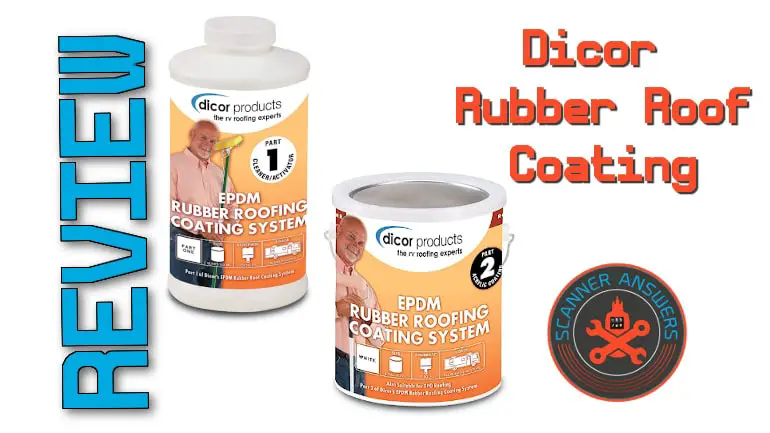
One of the best we’ve tried is Dicor’s EPDM Acrylic Rubber Roof Coating System. It consists of a two-part system to seal, protect, and prolong the life of your RV’s EPDM rubber roof.
Not all RV roofs are the same. Older campers will most likely have either vinyl, fiberglass, or aluminum roof. In fact, there are two different types of rubber roofs;
- EPDM (Ethylene Propylene Diene Monomer)
- TPO (Thermoplastic Polyolefin)
In this Dicor Rubber Roof Coating review, we’ll also discuss the different types of rubber RF roofs. As well as steps on how to apply Dicor’s EPDM Acrylic Roof Coating system.
What type of rubber roof does my RV have?
Good question.
Dicor’s rubber roof sealant system is formulated to treat EPDM RV roofs. And without question, knowing what type of rubber roof is crucial. This allows you to understand the proper steps to maintain the roof without messing it all up.
As mentioned, the two types of rubber roofs are EPDM and TPO. There are many ways to distinguish one from the other. However, you’ll know your camper has an EPDM roof if you notice or observe the following:
- If the roof is slippery when wet, you probably have an EPDM roof.
- If the roof looks flat when dry, you may have an EPDM roof.
- Glide your bare hand over the roof surface. If the surface is smooth, you may have an EPDM roof.
- Search for signs of ‘shedding’ or those white or gray streaks down the sides of your camper or RV. EPDM roofs are known for ‘shedding’ and are supposed to do so over the roof’s life. EPDM rubber sheds over 10% of its surface in an average span of ten years. It is meant to renew the surface for maximum UV protection.
- If the roof is very glossy, you most likely have a TPO roof.
- If the roof surface feels textured like an orange peel, you may be dealing with a TPO roof.
Vinyl roofs may have the same look and feel of rubber, so don’t assume you’re working on a rubber roof if it’s not aluminum or fiberglass! An easy way to determine if your RV roof is vinyl or rubber is to pinch the roof with your fingers lightly. Vinyl is not supposed to pinch. But if it does, you may have a rubber roof.
How do I maintain my rubber roof?
Here’s the clincher: rubberized RV roofs require more maintenance than aluminum or fiberglass.
But then again, repairing aluminum or fiberglass costs more money and also requires periodic cleaning. Perhaps the best way to maintain the integrity and finish of rubber RV roofs is to NEVER walk on the roof using hard-soled shoes.
Also, never use abrasive or harsh cleaners when cleaning the roof. You should avoid cleaners with petroleum distillates or citrus ingredients when cleaning RV roofs. Remember to clean the roof t least once every two to three months, especially if the rubber roof is still under warranty. The golden rule is to clean the roof more often when the weather is hot or humid.
Most RV owners skip the part of treating EPDM roofs with rubber coating. Nothing beats a trusted and dependable rubber coating that offers year-round protection against the elements. Rubber coating not only prolongs and protects your roof but keeps your RV from looking new for many years to come.
Think of it as wax and polish for your paint. The simple steps of polishing and waxing auto paint are surefire ways to maintain a pristine paint job. It’s the same procedure in your RV’s rubber roof.
In this Dicor Rubber Roof Coating review, we’ll discuss how you can apply Dicor’s EPDM Acrylic Rubber Roof Coating on your RV’s rubber roof.
The Dicor system is a two-part process consisting of
- Cleaner/Activator
- Acrylic Coating
- (optional but recommended) Self-Leveling Lap Sealant
Part 1: Dicor EPDM Cleaner/Activator
No products found.
The first step is to apply the Dicor Products EPDM Cleaner/Activator. This product contains no harmful ingredients like petroleum distillates, abrasives, or citric cleaners to harm or damage EPDM RV roofs. Best of all, this product is easy to apply.
The Dicor Products EPDM Acrylic Rubber Roof Cleaner/Activator is formulated to extend the life of your RVs EPDM rubber roof. Using this two-part system may help you save up to 25-percent in labor costs compared to other EPDM roof coatings. We also found out a little of this cleaner/activator will actually go a long way. According to Dicor, 1 quart is enough to cover 125 square feet of rubber roof.
How to apply Dicor Cleaner/Activator
[su_panel background=”#ffff” shadow=”2px 2px 2px #eeeeee” radius=”4″]Step 1 – Clean the roof
Prepare the surface by removing leaves, pine needles, and other debris. You can use a broom or air blower for this procedure. Ensure the roof is free from rocks, branches, and deposits of dirt.
Even though Dicor does not recommendd washing the roof, using a pressurized washer to remove dirt and debris is ideal. Don’t forget to allow the roof to dry before proceeding.
[/su_panel] [su_panel background=”#ffff” shadow=”2px 2px 2px #eeeeee” radius=”4″]Step 2 – Cover the RV sidewalls
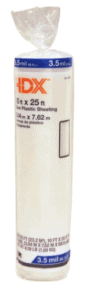
Install plastic sheeting on the sidewalls of your RV. Dicor’s cleaner/activator is purely designed for use on rubber surfaces only. As such, it may cause damage to other exterior parts of your RV. The plastic sheeting will protect the sidewalls and other outer panels from drips as you apply the cleaner/activator.
If the cleaner/activator comes in contact with non-rubberized surfaces, rinse it off immediately.
[/su_panel] [su_panel background=”#ffff” shadow=”2px 2px 2px #eeeeee” radius=”4″]Step 3 – Apply the Cleaner with a sprayer
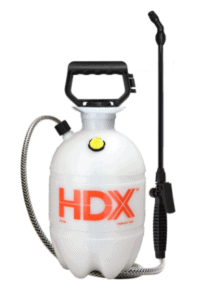
Dicor’s EPDM cleaner/activator is ready to use right out of the bottle. The best way to apply this cleaner is to use a hand-held pump sprayer. After wearing your protective gear (safety glasses, side shields, and latex gloves), transfer the contents of the cleaner to the sprayer.
Adjust the spray pattern of the spray gun. You need to dispense a fine mist instead of a heavy spray. Adjust the spray nozzle to achieve a uniform spray pattern. Apply the cleaner/activator, making sure to cover every inch of the surface. If the cleaner/activator is running off the roof, you sprayed too much of it on any given area.
As such, avoid applying the cleaner/activator if the temperature is below 40-degrees F.
[/su_panel] [su_panel background=”#ffff” shadow=”2px 2px 2px #eeeeee” radius=”4″]Step 4 – rinse with a pressure washer or garden hose
Allow the cleaner activator to stand for at least 15 minutes before rinsing off with clean water. In this regard, using a 2,000 psi pressure washer is most ideal. If you don’t have a power washer, use a garden hose and a medium bristle brush to rinse off the cleaner/activator.
Rinse the roof, beginning at the lowest point to the highest point. After rinsing off, give it another pass of clean water to ensure all traces of the cleaner/activator are removed. After rinsing off, the roof should have a ‘whiter’ color than before. This means the rubber roof’s chemical composition was successfully altered in preparation for the final acrylic coat.
[/su_panel]Part 2: Dicor EPDM Rubber Roof Acrylic Coating
No products found.
The next and final step is to treat the rubber roof with Dicor’s EPDM Roof Acrylic Coating.
Remember, this product is the second step in a two-part system that requires pre-treating the roof with Dicor EPDM Cleaner/Activator (we talked about this above in “Part 1”).
The activator chemically alters the surface of rubber roofs to ensure the adhesion of the final acrylic coating. This also enhances the acrylic coating’s elastomeric properties to offer superior protection to weather and UV rays.
[su_panel background=”#ffff” shadow=”2px 2px 2px #eeeeee” radius=”4″]Step 1 – Wear protective clothing
After treating the rubber roof with the Cleaner/Activator, make sure the roof is clean and completely dry before applying the Acrylic Coating. Make sure you have enough of the product since a gallon of coating is only suitable for 125 square feet. For example, if you have an 8′ x 30′ roof, you’ll consume four gallons of an acrylic coating.
Dicor recommends applying at least two coats of the product, but you can use three or four coats if you prefer. Make sure to wear protective clothing since inhaling vapors and fumes will lead to headaches and nausea.
[/su_panel] [su_panel background=”#ffff” shadow=”2px 2px 2px #eeeeee” radius=”4″]Step 2 – Use a paint brush or roller
The Dicor Products EPDM Rubber Roof Acrylic Coating is best applied using a basic paintbrush or medium nap roller brush. Mix the contents before applying.
[/su_panel] [su_panel background=”#ffff” shadow=”2px 2px 2px #eeeeee” radius=”4″]Step 3 – Apply two to three coats
The trick is to apply at least two coats of acrylic coating, making sure the first coat is moderately dry before applying the next coat.
Allow the coating to dry for at least two to three hours, depending on prevailing weather conditions. If the surface still feels sticky, allow it to cure for at least a day or two.
[/su_panel]You’re done! However, Dicor recommends a third and final procedure. Lap Sealant…
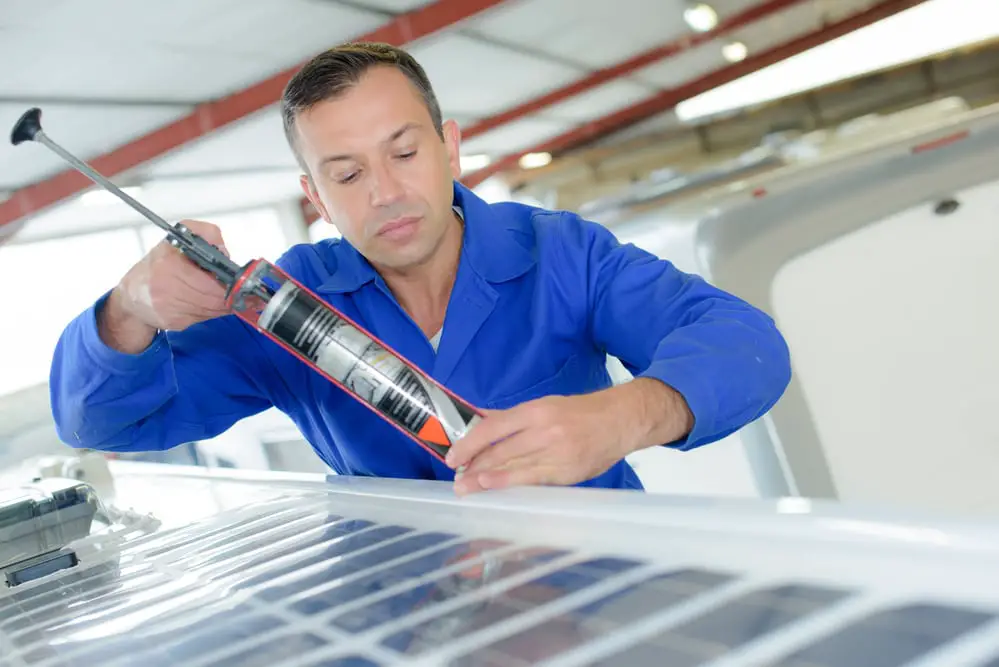
Part 3: Dicor Products Self-Leveling Lap Sealant
No products found.
After treating the roof with a final coat of acrylic coating, it’s always best to inspect the air vents, screw heads, vent pipes, and the roof’s edges. And while Dicor’s EPDM cleaner/activator and acrylic coating are designed for EPDM rubber RV roofs, the Dicor Self-Leveling Lap Sealant is ideal for concrete, aluminum, mortar, vinyl, fiberglass, and galvanized metal surfaces.
However, this product is also compatible with both EPDM and TPO RV roofs. It creates a tighter and more secure secondary seal against damaging water intrusion, which is the primary killer of RV roofs, whether rubber, metal, or vinyl.
This product is designed to be applied over horizontal surfaces only. It works best in sealing screw heads and roof vents after treating the roof with acrylic coating. Dicor’s Self-Leveling Lap Sealant is easy to apply and is more durable than silicone. The best part is you can apply this product using a paintbrush.
Make sure to check the seals in your RV at least once a year. It’s also best practice to keep a tube of lap sealant in your camper. You’ll never know when a nasty leak might pop up while on the road.
Conclusion
Given the proper care and maintenance, EPDM RV roofs can last a long time. While periodic cleaning and repairs are expected, applying the protective coating is the primary step in preserving rubber EPDM camper roofs.
In this Dicor Rubber Roof Coating review, we found out it’s the most cost-effective way to maintain a solid EPDM roof. Still, it also means dependable, all-weather protection against harsh weather and industrial pollutants.