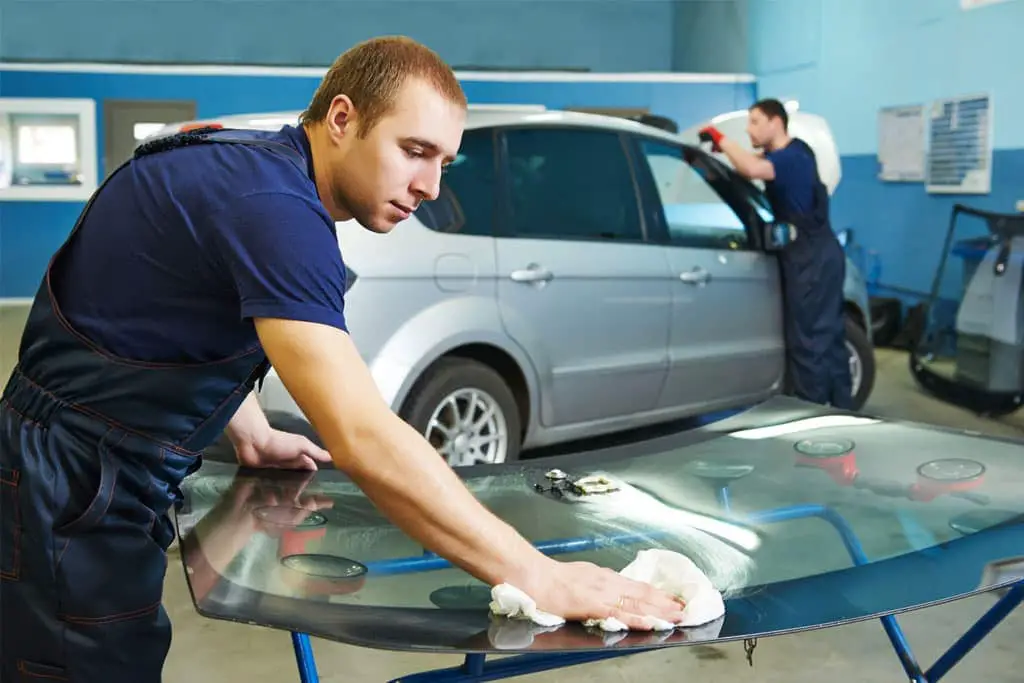
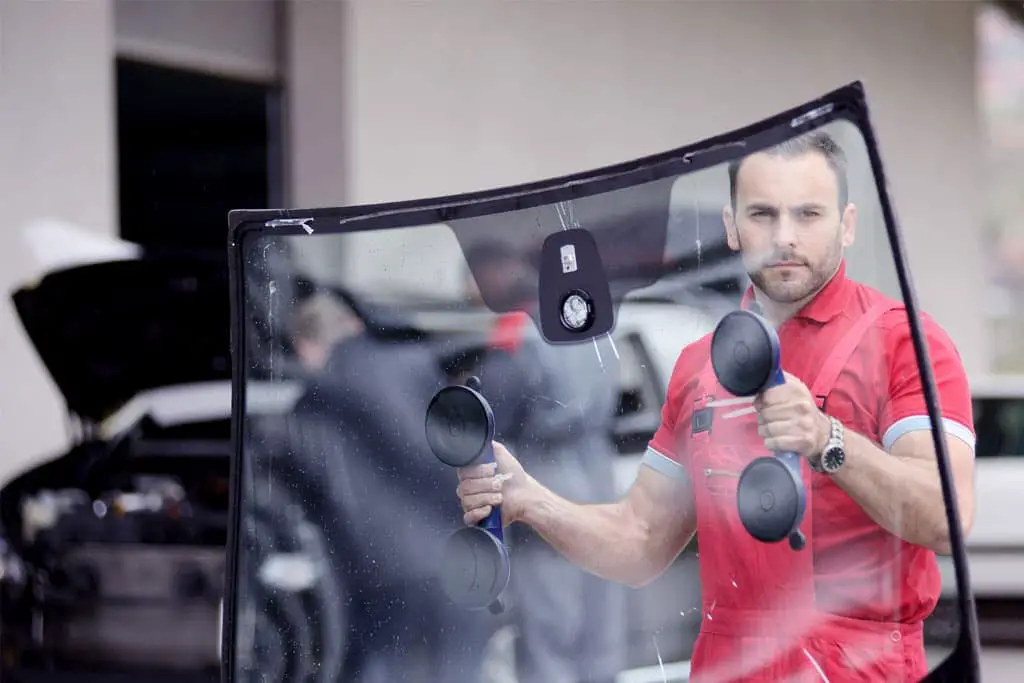
DIY windshield repair is something you can attempt if the rock chip is small enough and hasn’t spread. In fact, there are simple windows crack kits on the market that can help you do just that.
We all hate the sound of a stone that flies up and hits the windshield while we’re driving. It’s important to get small chips fixed sooner rather than later to avoid it spreading into a larger crack that may require a full windshield replacement.

The cost to replace a windshield isn’t cheap, so let’s get into some tips to save you money.
Windshield Chips You Can Repair Yourself
There are obviously times when repairing a damaged windshield at home is not possible If the chip is bigger than a quarter, you need to get a professional involved. If it is smaller than that, though, you may be able to tackle the project on your own and take care of the chip before it spreads.
Fixing the Chip
The first thing you need to do is buy a windshield repair kit. These are available at most auto parts stores. They contain epoxy resin so make sure you look at the expiration as the resin has a limited shelf life. Anything that has been on the shelf over six months may be problematic.
Once you have the kit, you need to prep the windshield to make sure you can get the best adhesion possible. Clean the windshield around the area of the repair but make sure not to get anything into the chip itself. Once you’ve cleaned the glass around the chip, pour a little bit of rubbing alcohol onto a microfiber cloth and then gently wipe the chip area clean. Very carefully take out any loose pieces of the glass as well. You can do this with a pin, needle, or thumbtack.
Before you start, check to see if the resin in your needs UV light to set. If this is the case, move the car into an area with sunlight. Avoid doing repairs on rainy days if possible as moisture cannot get into the chip before you put on the epoxy. If you are desperate to get the repair completed, you can use a hairdryer to get rid of any moisture from the rain. Just don’t overheat the chip area.
Windshield Repair Steps
There may be some differences from one kit to another so be sure to read the instructions included with your kit before you begin. Generally, though, they follow the same basic process:

1. Take off the backing of the adhesive patch so one side of the adhesive is showing. Make sure the chip is not bigger than the cut-out in the center of the patch. Place the patch over the area of the chip on the clean outdoor side of the windshield. Take off the other backing that is still on and put the pedestal (the piece of plastic that has the tube) on the adhesive. Line up the tags so you can take it off easily.
2. Mix the resin then pour the resin into the pedestal so it is completely filled to the top. Push the syringe down completely for full compression and put it into the pedestal.
3. Once the syringe is firmly in place, hold the pedestal with one hand while you pull up the syringe plunger at the same time. This will not pull up the resin. Pull the plunger up until you reach the end of the syringe but do not pull it out. Your kit may actually have slips that will stop you from going too far. You are doing this to create a vacuum within the syringe itself so it’s very important to follow these steps carefully. The syringe takes the air bubbles out of the resin and away from the crack. In fact, if you look from inside the car, you can see the air bubbles leaving the area of the chip. Check the kit’s directions for how long you should leave the syringe in place. It can be anywhere from one to 10 minutes. Make sure there are no bubbles left when you take off the syringe.
4. Grasp the pedestal while you remove the syringe. Then, put the syringe back in. Slowly push the plunger down to force the resin into the chip. Stop pushing the plunger when you get to about halfway down or wherever the instructions indicate. There may be a clip to stop it as well.
5. Tap the window gently with your knuckles to get rid of any air bubbles trapped in the chip area. If you notice there is a spot in the chip that did not fill properly, push the syringe down a bit more. Do not go more than ½ inch or the seal may give way meaning you are back to square one.
6. Again, look at the specific instructions to see how long the syringe needs to stay in place. Once the resin is set, take off the patch and pedestal.
7. Get your tube of resin and add a couple of drops on top of the chip.
8. Place the curing strip on top of the drops at an angle that will not introduce any air bubbles. Hold the strip carefully with your fingers and use a razor blade to squish out bubbles. Allow it to cure again for the allotted time.
9. Use the same razor blade to remove the rest of the curing strip. Do not just rip it off. Put a finger on the top of the chip and use the blade to break the bond between the strip and the windshield around the outside of the chip. Twist the strip so you do not pull the resin out from the inside of the chip itself.
10. Carefully scrape any resin that left.
Final Thoughts
DIY windshield repair is not overly complicated, just follow the instructions included with your DIY windshield repair kit and you’ll be back on the road in no time.
If you don’t feel like splurging on a kit, you may have some household items like superglue or nail polish that can temporarily patch your windshield.